
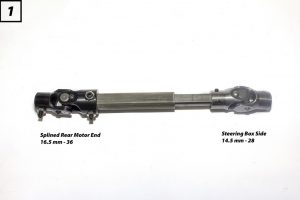
1.) Remove column from vehicle and set it on an appropriate work surface.
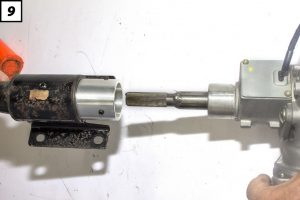
2.) Back off the column bracket to expose the 3 bolts holding the lower column. Use a rubber mallet to tap bracket towards the steering wheel end of the column.
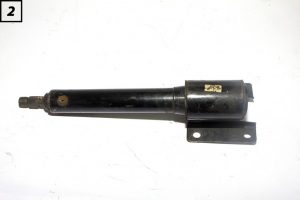
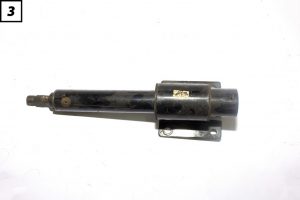
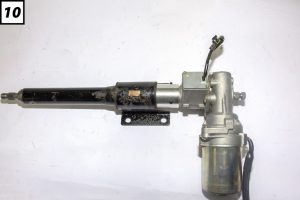
3.) Remove the lower column portion and set it aside – We won’t be using it.
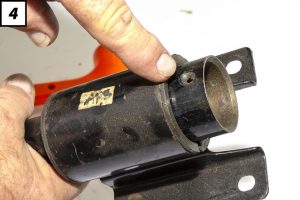
4.) Insert the provided aluminum collar into the column. Install all the set screws, but DO NOT tighten them until the motor is clocked
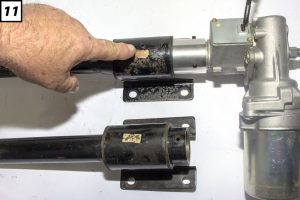
5) Using your rubber mallet, tap the column bracket back down until it meets the collar.
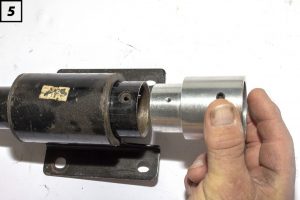
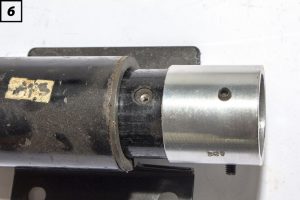
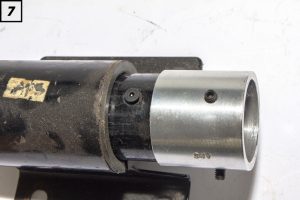
6.) Install the electric motor into the column collar. (Remember, leave the set screws loose until the motor is clocked.)
7.) Two 6.75 mm holes will need to be drilled on the top and bottom of the column bracket to prevent the bracket from rotating on the column tube.
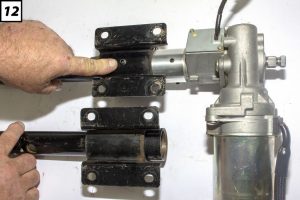
Two M8 x 1.00 set screws will go in those holes. NOTE: ONLY DRILL THROUGH THE FIRST LAYER OF MATERIAL.
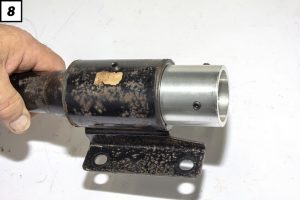
Once the column and motor have been clocked into the desired position and secured, all set screws can be tightened down. You can now return to the rest of the instructions!
This paragraph will help the internet users for creating new webpage or even a weblog from start to end. Emile Coaster
tvwytoveywwoqshuisuxfydoefnqee
wyoyyenonwxxjwqzwffgpuymzrhrkw